

kimi-k3 model directly — no protocol conversion or local proxy is required.
Codex CLI supports text and image input, but does not provide a native video input channel — you cannot submit a video file directly as multimodal input to the model. This is a limitation of Codex CLI’s input layer, not of the Kimi K3 model — the Kimi K3 API natively supports video input. Call
kimi-k3 directly as described in Vision Input for full video understanding, with no manual frame extraction required.Prerequisites
Before you start, complete the following preparations. Follow the corresponding official instructions for installation and account-related operations; this guide does not repeat those procedures.Install Codex CLI
Follow the official Codex documentation and start Codex CLI at least once. To use the Codex desktop app, download it from the official site or run
codex app after installing the CLI.Create an API key
Create and save an API key in Kimi Open Platform.
Step 1: Configure the API key
Codex reads the API key from an environment variable. Do not write the key intoconfig.toml. To keep the key out of your shell history, enter it as follows:
- macOS / Linux
- Windows (PowerShell)
export command to ~/.zshrc (or ~/.bashrc if you use bash on Linux). The file stores the key in plain text — set permissions accordingly.Step 2: Add Kimi as a model provider
Open~/.codex/config.toml (on Windows: %USERPROFILE%\.codex\config.toml) and add the following configuration. If model or model_provider already exist, replace their values:
Use Codex Desktop
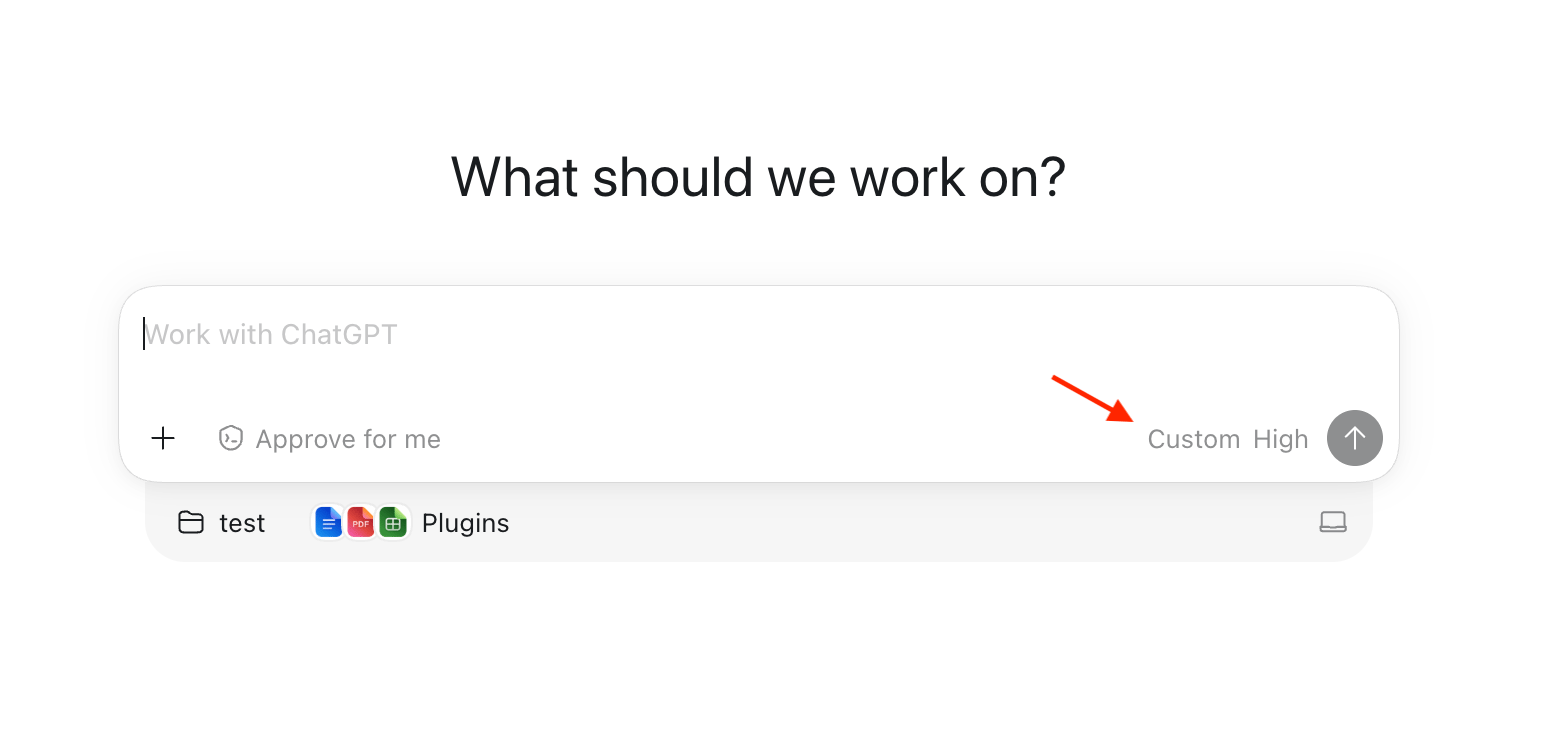
After completing the API key and provider configuration above, quit and restart Desktop so it reloads~/.codex/config.toml.
After Desktop starts, open the model picker and select kimi-k3. The interface may show Custom, but requests still use the kimi-k3 you configured.
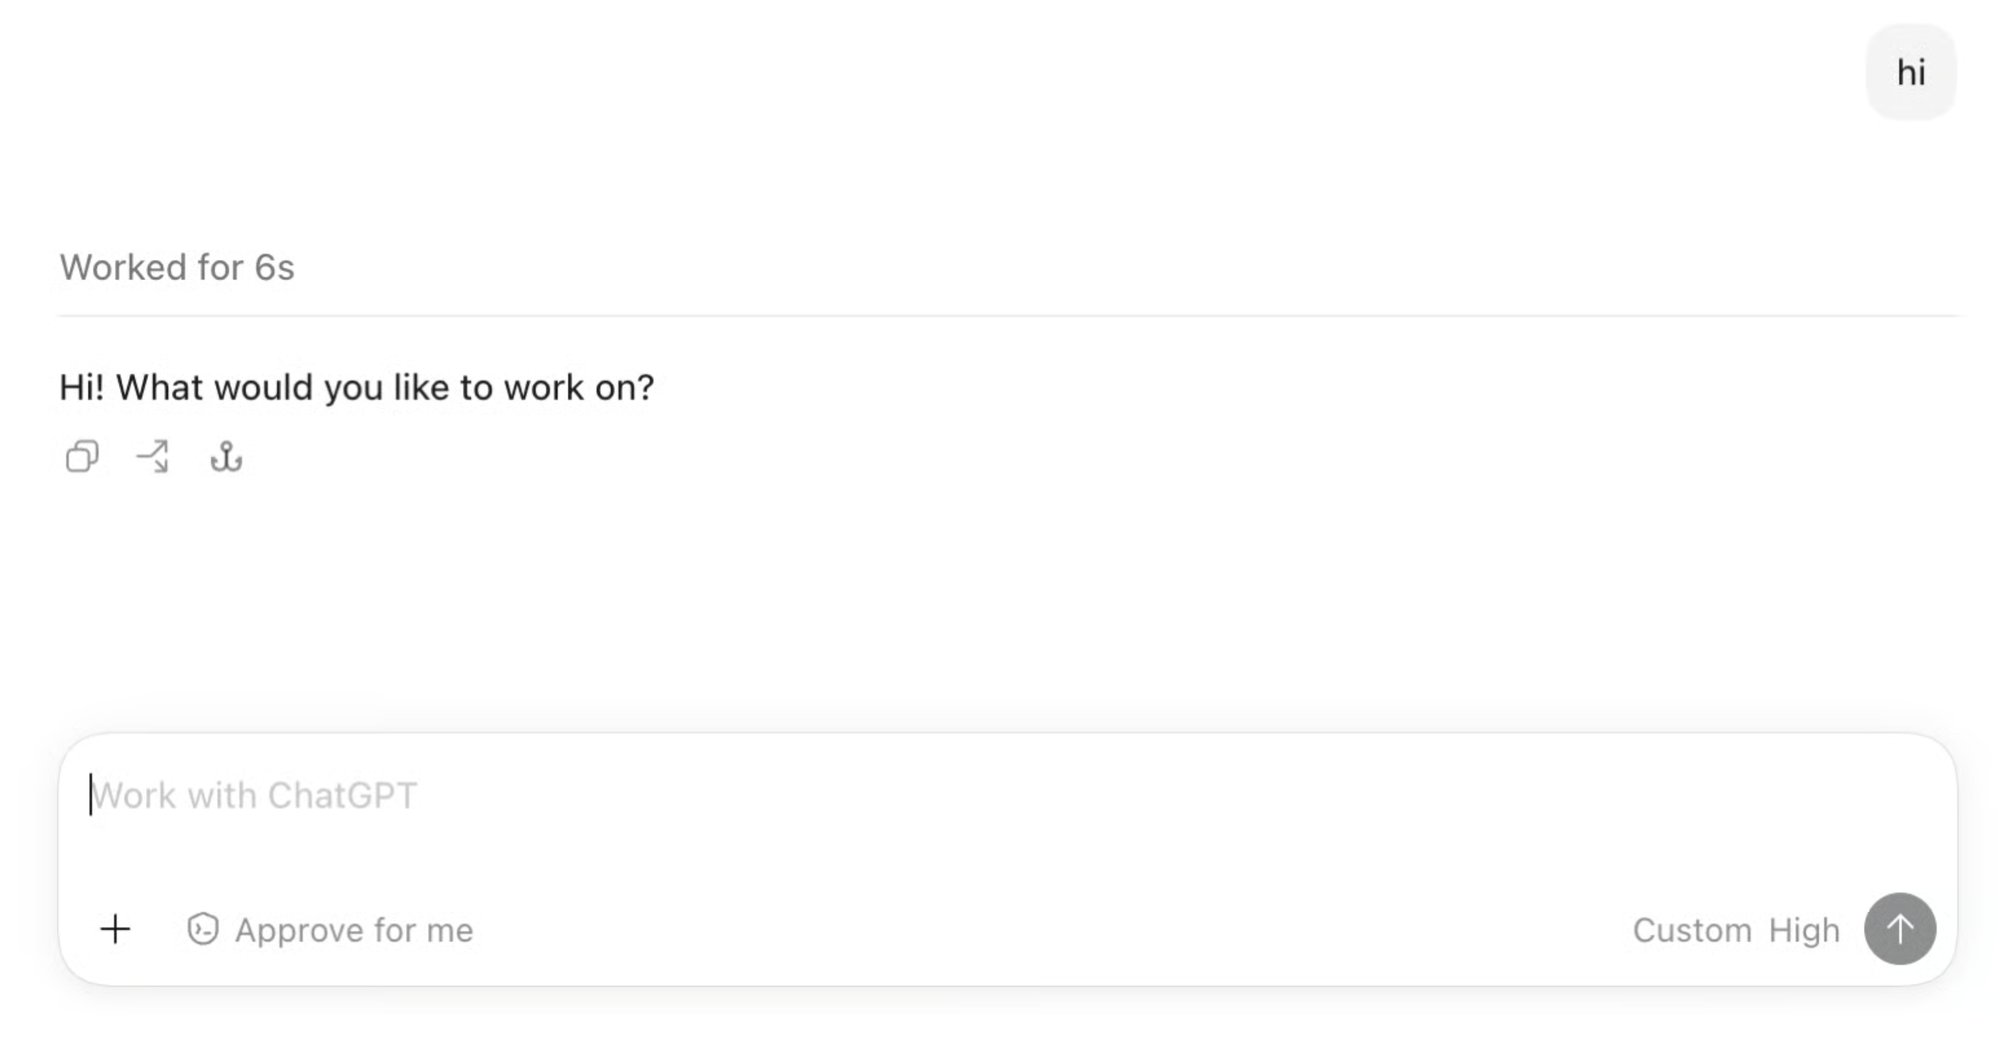
hi — a normal reply means the basic connection works:
Use Codex CLI
Codex CLI shares the same user-level configuration as Desktop, so the configuration above applies to it as well. Enter your project directory and start Codex (if Codex CLI is already running, exit the current session first so it reloads the configuration):kimi-k3 as the current model:
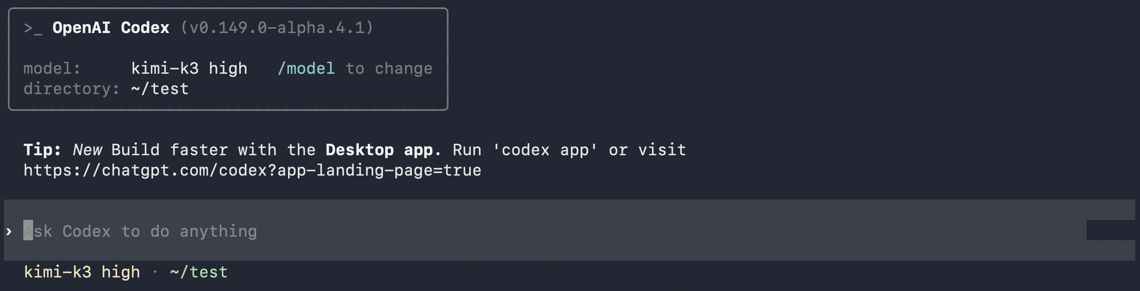
hello). A normal reply confirms that Codex is connected through the Kimi Responses API.
Under the hood, Codex sends requests to POST https://api.moonshot.ai/v1/responses. For request and response schema details, see the Responses API reference.
Troubleshooting
400 web_search.search_context_size is not supported
400 web_search.search_context_size is not supported
The request includes the
search_context_size parameter, which is not supported yet — remove it. Codex does not send this parameter by default, and the built-in web_search tool works out of the box.404 on /v1/responses
404 on /v1/responses
base_url is wrong — make sure it is exactly
https://api.moonshot.ai/v1 (with the /v1 suffix). If you previously connected through CC Switch or another local router, also confirm base_url no longer points at a local address such as http://127.0.0.1:....429 Rate Limit
429 Rate Limit
You have hit a rate or concurrency limit. See Rate limits for your tier’s quotas.
Warning Model metadata for kimi-k3 not found
Warning Model metadata for kimi-k3 not found
kimi-k3 is not in Codex’s built-in model catalog. This warning is expected and does not affect usage — the
model_context_window = 1048576 from Step 2 already ensures the context window is treated as 1M.Configuration changes do not take effect
Configuration changes do not take effect
Codex only reads config.toml at startup — exit and restart it. Also confirm you edited
~/.codex/config.toml itself and that no -c flags or profiles are overriding it. If you previously connected through CC Switch, also turn off Codex under its Settings > Routing — otherwise it keeps rewriting config.toml and overwrites the new configuration.Other HTTP errors
Other HTTP errors
See Error codes for the meaning of each status code.